


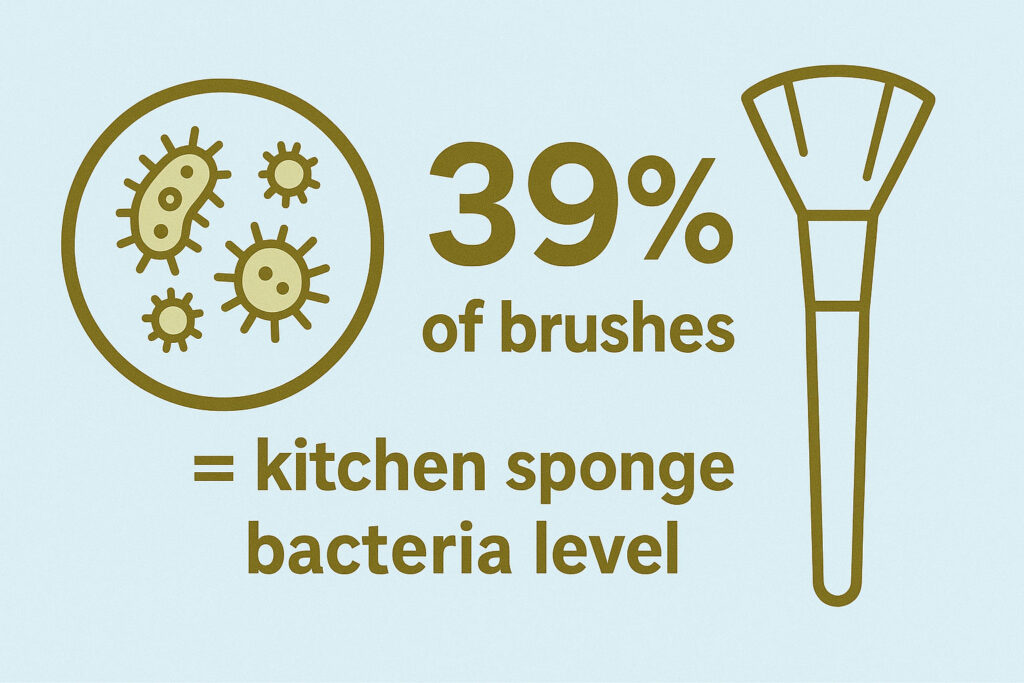
Your makeup brushes might be dirtier than you think, for a fact, yes it is shocking. Studies show that uncleaned brushes can harbor as much bacteria as a kitchen sponge! But don’t worry – we’ve got you covered with this complete guide to keeping your makeup brushes clean, your skin healthy, and your makeup looking flawless.
Whether you’re using high-end brushes from Lakme or affordable options from local brands, proper cleaning is essential for both your skin’s health and your makeup’s appearance. Let’s dive into everything you need to know about cleaning your makeup brushes the right way.
Why Cleaning Your Makeup Brushes is Non-Negotiable?
Let’s be honest – cleaning makeup brushes might seem like a hassle, but it’s absolutely crucial for your skin’s health and the quality of your makeup application. Here’s why you can’t skip this essential step:
1. The Hidden Dangers: Bacteria, Breakouts, and Infections
Dirty makeup brushes are a breeding ground for harmful bacteria. Every time you use an uncleaned brush, you’re potentially transferring these bacteria to your skin. Plus, oil, dead skin cells, and old makeup create the perfect environment for breakouts and skin infections.
2. Better Makeup Application: The Secret to a Flawless Finish
Ever wondered why your favorite eyeshadow doesn’t blend as smoothly as it used to? Or why your foundation looks patchy? Clean brushes are the secret to flawless makeup application. When brushes are caked with old product, they can’t pick up and distribute new makeup properly.
3. Extend the Life of Your Brushes (and Save Money)
Quality makeup brushes aren’t cheap – especially if you’re investing in brands like MAC or Sigma. Regular cleaning helps maintain the bristles’ shape and prevents the breakdown of glue in the ferrule (the metal part holding the bristles). This means your brushes will last longer, saving you money in the long run.
How Often Should You Clean Your Brushes? A Simple Schedule
One of the most common questions is about cleaning frequency. Here’s your easy-to-follow schedule:
1. For Liquid Products (Foundation, Concealer): Weekly
Brushes used with liquid products need the most frequent cleaning. These products create a moist environment where bacteria thrive. Plus, product buildup can make your foundation application look streaky.
2. For Powder Products (Eyeshadow, Blush): Every 2 Weeks
Powder brushes can go a bit longer between deep cleans. However, if you’re switching between dark and light colors, a quick clean between uses can prevent color mixing.
3. For Sponges and Beauty Blenders: After Every Use
Yes, you read that right! Beauty blenders and makeup sponges need daily cleaning. They’re more porous than brushes and can harbor more bacteria. A quick wash after each use will keep them clean and extend their life.
Pro tip: Keep a small spray bottle with daily brush cleaner on your vanity for quick cleaning between deep washes. This helps maintain brush hygiene without the need for daily deep cleaning.
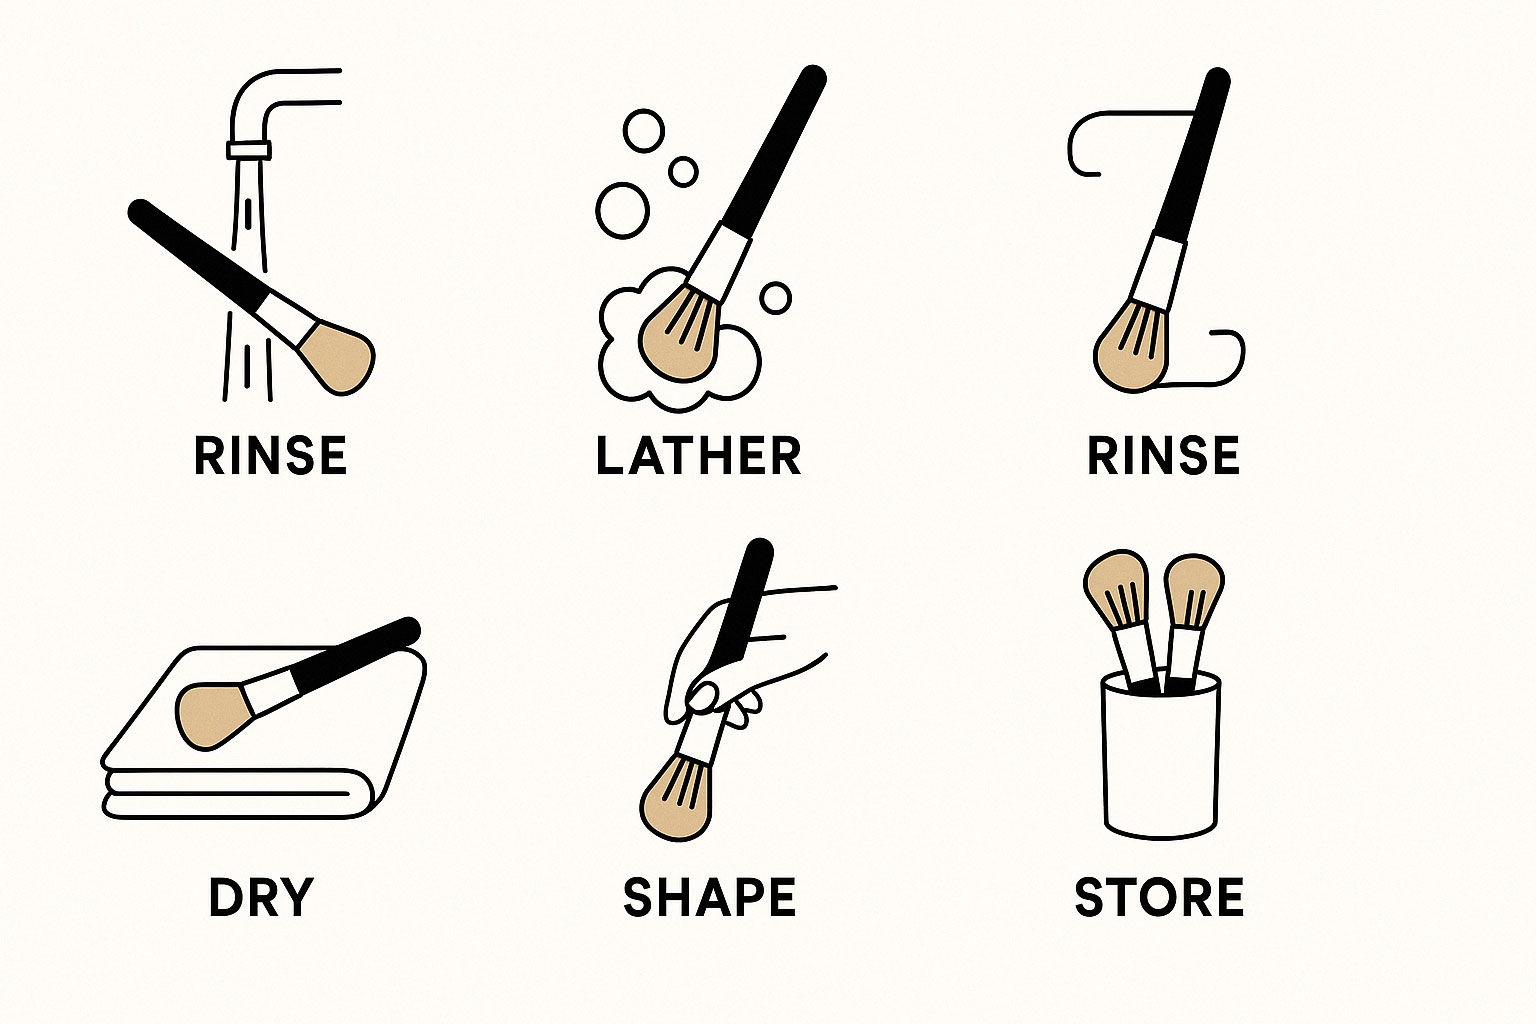
The Ultimate Step-by-Step Guide to Deep Cleaning Your Brushes
Follow these simple steps for perfectly clean brushes every time:

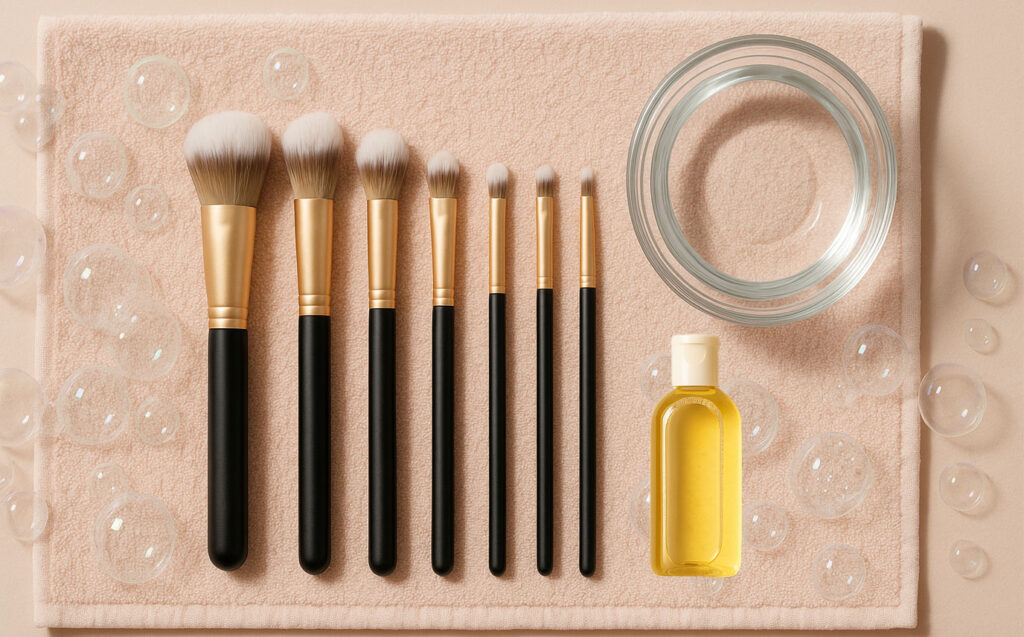
Step 1: Gather Your Supplies (What You’ll Need)
- Lukewarm water (not hot!)
- Gentle cleanser (baby shampoo, mild soap, or brush cleaner)
- Clean towel
- Brush cleaning mat or textured surface
Step 2: Wet the Bristles (Use Lukewarm Water)
Hold your brush at a downward angle under running lukewarm water. Only wet the bristles – avoid getting water into the ferrule (the metal part). Water in the ferrule can loosen the glue holding your bristles in place.
Step 3: Lather with a Cleanser
Place a small amount of cleanser in your palm or on a cleaning mat. Gently swirl the brush in circular motions to create a lather. For stubborn makeup stains, use your fingers to work the cleanser through the bristles.
Step 4: Rinse Thoroughly Until Water Runs Clear
Keeping the brush pointing downward, rinse the bristles until the water runs completely clear. This might take several rinses for heavily soiled brushes.
Step 5: Gently Squeeze Out Excess Water
Using a clean towel, gently squeeze (don’t pull!) the bristles to remove excess water. Reshape the brush head with your fingers.
Step 6: Reshape and Dry Correctly (The Most Crucial Step)
This is where most people go wrong! Never dry your brushes standing up – this can cause water to seep into the ferrule. Instead, lay them flat on a towel with the bristles hanging off the edge of a counter. This allows air to circulate while keeping water away from the ferrule.
What’s the Best Cleanser? DIY vs. Store-Bought
You don’t need expensive brush cleaners to get great results. Here are your best options:

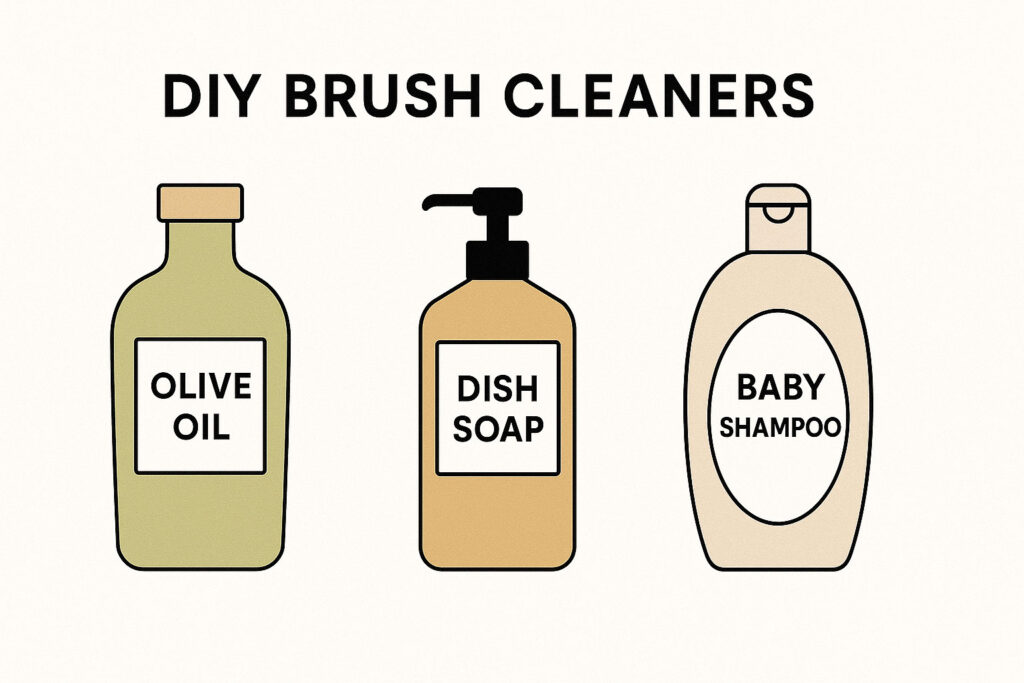
DIY 1: Gentle Baby Shampoo (The Go-To Method)
Baby shampoo is gentle enough for natural and synthetic bristles while being tough on makeup residue. Plus, it’s affordable and easily available at any local store.
DIY 2: Dish Soap + Olive Oil (For Stubborn Stains)
Mix one part dish soap with two parts olive oil. The dish soap cuts through makeup while the olive oil conditions the bristles. This works especially well for removing waterproof makeup.
DIY 3: Micellar Water (For a Quick Clean)
Micellar water is perfect for spot cleaning between deep washes. Just dip the brush in micellar water and swirl on a tissue until clean.
When to Use a Commercial Brush Cleanser
Store-bought brush cleaners are worth considering if:
- You need quick-drying formulas for professional use
- You have very expensive natural hair brushes
- You want specialized antibacterial properties
Important: Always patch test new cleaners on one brush first to ensure they don’t damage the bristles.
Did You Know?
Here are some fascinating facts about makeup brush hygiene that might surprise you:
- Shocking Bacteria Levels: A 2016 study found that 39% of makeup brushes contained as much bacteria as a two-week-old kitchen sponge. [Source: Business Wire]
- Dangerous Microbes Present: Uncleaned makeup brushes can host dangerous bacteria like Staphylococcus, Streptococcus, and E. coli, leading to infections like impetigo or pink eye. [Source: Good Housekeeping]
- Weekly Cleaning Required: Dermatologists recommend cleaning foundation and concealer brushes at least once a week to prevent the buildup of product and bacteria. [Source: American Academy of Dermatology]
The Right Way to Dry Your Brushes to Prevent Damage
Proper drying is crucial for maintaining your brushes. Here’s what you need to know:
Why You Should Never Dry Brushes Upright
Standing brushes upright while wet allows water to seep into the ferrule, dissolving the glue that holds the bristles. This leads to shedding and eventually ruins your brushes.
Method 1: Hanging Brushes Upside Down

The best way to dry brushes is hanging them upside down. You can use a brush drying rack or create a DIY solution using rubber bands and a towel rack.
Method 2: Laying Them Flat on a Towel
If you don’t have a drying rack, lay brushes flat on a clean towel with the bristles hanging off the edge of a counter. This allows proper air circulation while preventing water damage.
Using a Brush Drying Rack or Mat
Invest in a brush drying rack if you have many brushes. These usually have adjustable holders to keep brushes at the perfect angle while drying.
Frequently Asked Questions
While you can use regular shampoo, it’s not ideal. Baby shampoo or specialized brush cleaners are better because they’re gentler and less likely to damage the bristles. Regular shampoo might contain harsh ingredients that can dry out and damage your brushes over time.
For quick cleaning, use micellar water or a brush cleaning spray. Simply spray or dip the brush, then wipe it on a clean tissue until no more makeup transfers. Remember though, this is just for spot cleaning – you’ll still need regular deep cleaning.
Your brushes are clean when: 1) The water runs clear while rinsing, 2) The bristles return to their original color, 3) There’s no makeup residue when you wipe the brush on a white tissue, and 4) The bristles feel soft and not stiff with product.
Yes, dirty makeup brushes can definitely cause fungal acne. The combination of old makeup, oils, and bacteria creates an environment where fungi can thrive. These microorganisms can then transfer to your skin and cause breakouts.
It’s not recommended to use a hair dryer on makeup brushes. The heat can damage the bristles and potentially melt the glue in the ferrule. Air drying is always the safest option for maintaining brush quality.
Conclusion
Clean makeup brushes are essential for both your skin’s health and the quality of your makeup application. By following this guide and establishing a regular cleaning routine, you’ll extend the life of your brushes, protect your skin from harmful bacteria, and achieve better makeup results. Remember, it’s not just about having the right brushes – it’s about maintaining them properly. Start your brush cleaning routine today, and your skin (and wallet) will thank you tomorrow!